Showing posts with label bag. Show all posts

Saturday, February 16, 2019

Candy box, snowmen cards, sling bag

Catch-up post for the record from 2018.   I'll do another soon with this year's entries.

First was a cute little candy box for a hostess gift.  I used  Mary Garry's Skating Party with some color changes to blues that I'd seen on the web by other stitchers.  This is done on Edinburgh linen, 36 ct summer khaki.  Had to go blue because I had the pretty blue ribbon that was looking for a home!

This is just the cutest little snowman from an old Stoney Creek magazine.  The magazine showed it on black fabric, but my eyes don't work well with that.  So I settled on Belfast Smokey Pearl 32 ct and crossed my fingers that the black shading around the edges would look ok.  I was totally pleased with this one.  The recipient of the card loved it too.

This card was done for a friend as an inside joke.  We have had some discussions about the Stanford Marshmallow Experiment.   When I saw this litte marshmallow head snowman cupcake in the "Festive Frostings" feature of the Nov., 2018 issue of "CrossStitcher",  I knew it was perfect for my friend's holiday card.  The design is by Maria Diaz.  Stitched on 36 count linen.
 

I've had the pattern for Niky's Creations "Numbers" forever.  I thought I was going to use it for a baby sampler at some point, but that never happened.  So I stitched it up and made it into a little sling bag.  The one I had been using with the peacocks finally wore out.  Stitched on 32 count MCG linen.  Cheap linen with a good heft for a bag.  I've been using it ever day since I stitched it.

So that brings us into 2019.  Stay tuned for more current work.

Saturday, August 6, 2016

Flower Waltz Bag & SAL Updates

So finally I have left behind the world of the Blackberry.  My company has switched over to a different phone system and they are replacing the mobile devices of those of us who were still on the old system.  I got a nice surprise in the mail, a new Galaxy phone.  I think I finally have it set up how I like it, but I do miss the nice Blackberry keyboard.   Meanwhile, the phone is bigger than my Blackberry and it doesn't fit well inside my smallest sling bags, the ones I use on a long walk where I really carry nothing but phone, Id, credit card and tissue.  

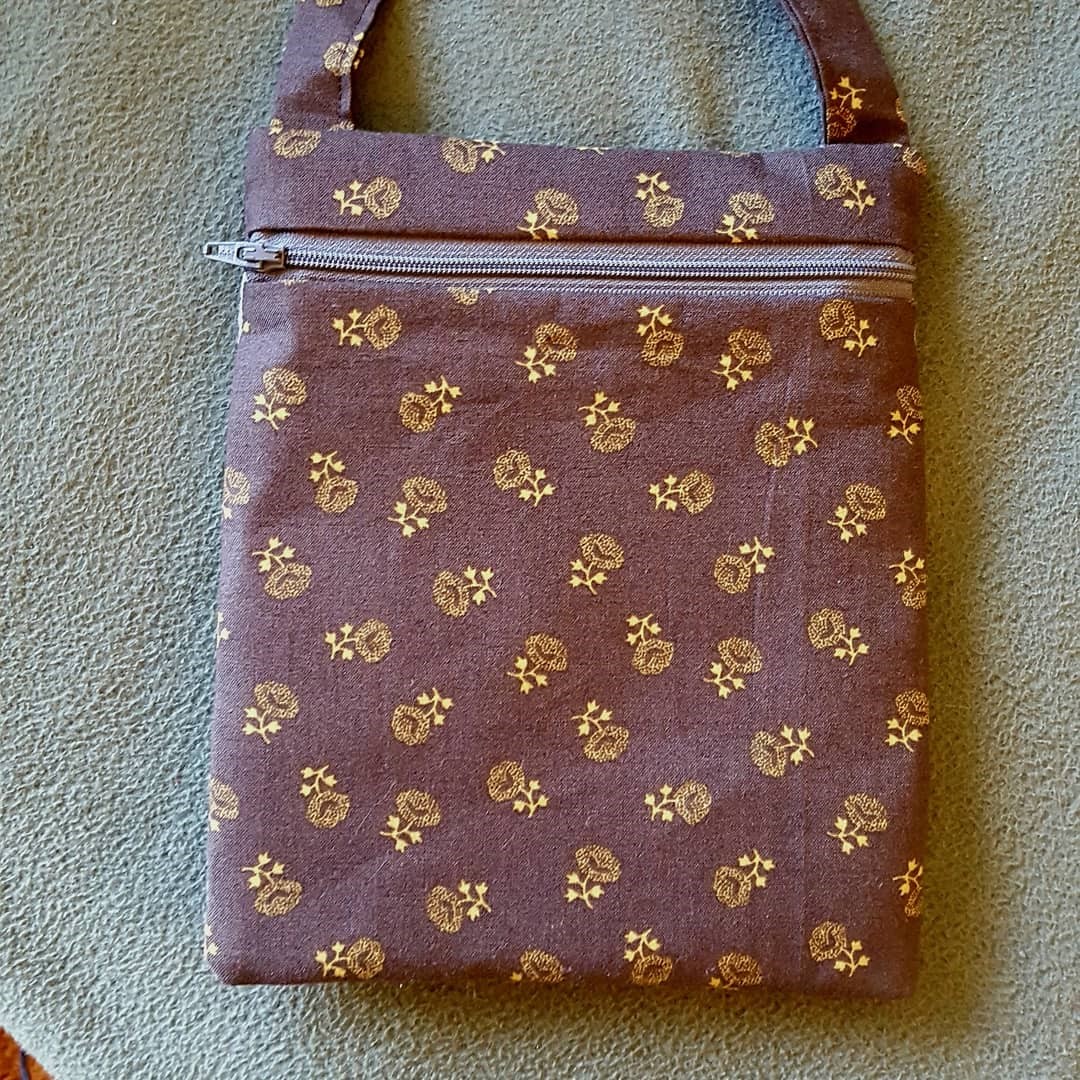
I recently finished stitching "Flower Waltz" by Prairie Moon and had planned on using it for something that I no longer was interested in.  So I made a bag in the style of all my others, but a little smaller, yet large enough to hold the essentials comfortably with the larger phone.

I stitched it on 32 count MCG linen using my own DMC color choices.  That fabric is nice and sturdy so it makes a good bag.  I used heavy craft interfacing, but no batting or fleece.  Ready to go for my 5 mile Sunday walk.  My Sunday Jazzercise class lost their lease at the space they had so the walk is my substitute exercise on Sunday morning for now.


All caught up on the July and August designs for the Snowflower Diaries Joyful World SAL.  Just a few color changes for July, mostly to get a good pink for flamingos and little more contrast with brighter yellows.

For August, I made a few color changes as well, but the large changed involved the blue flowers that were charted as lazy daisies.  I found it way too difficult to do those on 28-ct Monaco in over-one stitching.  So I changed them to French knots. French knots are not always my forte either, but with 2-strands they at least didn't have that tendency to pull through to the back side.   Now the flowers remind me of hydrangeas.  When I was a kid, our next door neighbors had a black and white collie named "Lady" and they had two hydrangea bushes as well.  We used to call them snowball bushes. 


Wednesday, June 8, 2016

Bird's Eye View Sling Bag

Last fall, I decided I needed a new cross-body sling bag and I stitched up Kathy Barrick's "Bird's Eye View".   This was really a fun stitch.. just the kind I like.  It's very colorful, no back-stitching, and no super-large areas of a single color.  All done in DMC on 36 count linen.  And then for some reason, the design just sat around and I never felt like making the bag.  Meanwhile, the bag I use everyday had gotten increasingly tattered, so finally I took out the time to sew this one up.  I don't know why I hesitated for so long.  It really doesn't take that long to do it.  And I'm very happy with it, even though those colors are not very spring/summer-like.


All caught up with Snowflower Calendar SAL just about in time for the next installment. This June bear just stole my heart.  I first thought the color was too dark and I tried something lighter.  It was too faint and I ripped it out.  So I went with the 839 on the pattern and I'm much happier.  I made the bee hive a little gold-ier,  the apricots a little orange-ier and the bees a little brighter yellow.  Just look at that sweet smile!

Also finished the 4-5-6 block for Ele's SAL.  Only one more block to go and I will have the dubious pleasure of sewing up the cubes.  I wonder how long it will take me to feel like doing that!

Saturday, September 27, 2014

Peacock Bag

Some time last summer I discovered this design of nine funky peacocks on Pinterest.  I had a heck of time finding the original source pattern as often happens with those pins, but I put on my x-stitch detective hat and kept looking.  I finally found it in an on-line only magazine,  Antique Sampler Stitcher  Issue 8, August/September 2009.  I had never heard of this magazine before. It has very homegrown amateur feel about it.  They sell back issues pretty cheap so I took a chance and ordered it.  I received the .pdf file in a wink so I'm at least one customer who can vouch for the site in case you see anything you like there.

This design was earmarked to become a sling bag at that time.  But somehow, I kept getting interrupted to stitch other things.  I'm usually a one-project-at-a-time stitcher so I don't exactly know how it got delayed.  Anyway I finally got around to completing the stitching and managed to take a slice of time to finish the sewing.  I used the suggested DMC colors, but the finish is much paler than the model in the magazine.  At first I was disappointed, but now I've come to appreciate the subtlety.  I mean who wants to scream "Peacocks!"  wherever they go.

The fabric is 36 ct Edinburgh Summer Khaki linen.  This one uses iron-on fusible craft fleece for stability and it came out with just the right amount of stiffness. Sometimes I have trouble getting that stuff to adhere properly to the fabric, but this time it worked out fine.  I think I may not have had my steam iron set hot enough on some previous attempts.  Final size is about 7"x8", perfect for most of my needs.


Sunday, June 8, 2014

"Rendered By..." Bag and Bottlecap Magnet

The birthday party for my friend who turned 60 was a big success.  The trickiest part for me was deciding what to wear since the party was at a very nice restaurant and my standard jeans and t-shirts just wouldn't suffice.  I finally settled on a black skirt and flowered top.  Then I noticed that the top really matched the little piece I had been stitching.  So the day of the party, I sewed it up into a little cross-body sling bag.  All my others are getting worn out with use, so it was time for one or two new ones anyway. 


The chart is  is called "Rendered by.."  designed by "Little By Little".  It's stitched with DMC on 32 count Lugana.  I made a ton of changes.  The colors just didn't seem quite right in some cases, so I kept substituting.  I also simplified it to fit the size I wanted.  The alphabet was one of those old time sampler deals where some letters are missing and some are repeated.  But I saw a couple of other finishes on blogs where the stitchers had changed it to be the normal ABC's and I followed suit.  There was some odd dead space that didn't sit well with me so the butterfly and purple heart are my additions.  Of course, in the original, the words "Rendered by...' are stiched along the bottom and the stitcher can personalize with his/her own initials.  But that got left out too.

In this version, I only used heavy fusible interfacing and no batting.  It was a trial and it turned out well.  Much easier than batting actually.   After I used the bag for the party, I decided the top seemed a little plain.  So today, after searching and crocheting about 20 different little butterfly appliques, I finally found a pattern that suited me.  So the final product now has a bit of adornment.    Click here for the page of butterfly patterns where I found the one I settled on.


I saw a cute thing on Pinterest that I just had to try, a bottle cap magnet using cross stitch.  I bought a pack of 1" diameter flattened bottle caps at Joann's for a test.  One inch does not give a lot of space to work with, even at over-one on 32 count fabric.  32 / 1.4 is about 23 stitches on a side for the largest square that will fit in the circle.  (Hypotenuse is the square root of two times a leg as all good Pythagoreans know).  As luck would have it, the same day I bought the caps, I saw the new tiny mermaid design by The Little Stitcher, a freebie you can get here.  I did a pretty weak job of stretching it around a circle and centering it, but as proof of concept, I think it turned out kind of cute.  I added it to my mermaid tin and I'll be giving the tin away tomorrow so mermaid stitching is at a close for now.  There's an odd wonky stitch that shows up in that photo because it's such a close-up.  I couldn't actually see that without magnification in real life since the stitching is so tiny!


Tuesday, July 9, 2013

Rose Bag and Reindeer Buddy II

When you use these cross-body sling bags that I make,  surprise... they wear out eventually.   No problem.. just means I get to make more.   I had stitched this beautiful red rose from Passione Ricamo with the intention of piecing it with other fabrics and making something completely different.  But it sat for way too long waiting for a finish, so I just whipped up a romantic little bag with it.   I added a bit of crocheted lace, the first two rows of the  Celestial Edging pattern.  Then I threaded a piece of hand-dyed silk ribbon through it from a grab bag of ribbons I once bought from Vikki at HDF.  The cord is purchased.  The piece is lined with no raw edges showing inside.  I took the photos before I added a snap closure.  I have a wedding to go to later in the summer, so I think this will be perfect to use then.

The pattern is called 'A Rose For You' and you  can download it  here.
There are lots of other beautiful freebies on the page as well.


The Aliolka reindeer were just to cute to stitch only one.  Here's a companion ornament to the one I made earlier.    Another fork bow, this one with 2 loops and a bit larger.  I made it on a wide-toothed comb that I use to get the tangles out of my hair.  You can find the pattern here.   The trim on this one is actually a round spiral braid made exactly like a gimp lanyard.  This was a little thicker than my last one, but I still think I could have added another 6-strand length of floss to each of the 4 lengths used for braiding. 


Just for fun I tried a little sample of 3-strand braiding and the 4-strand round braid using 4 lengths of floss.  The 4-strand one on the bottom in the photo below is the same as the braid on the ornament, but by placing the lengths in a different order, you get a spiral effect instead of a diamond effect.

If you want to try it, here's an explanation:  Four-strand spiral braid tute 
I think I like that thickness and I'll try it out next time.  Uses a lot of floss, but floss is the cheapest supply. 

Edited July 11, 2013:  Here's a link to a You Tube video that demonstrates the four-strand braiding technique very clearly:      Four-strand spiral braid video


Friday, November 23, 2012

Vermillion Teacup & By The Bay SAL Bag


Back in the day, I just could not get my fill of Donna Vermillion designs.  I loved changing colors a billion times within a small space, doing loads of fractional stitches and adding just the right back-stitching to make a really realistic piece.  I still love the look and I still kind of enjoy stitching like that, but it now it just tires me out so fast!   The World of Charity Stitching is doing  a quilt with a teacup theme. Many of the members signed up to do one of the Vermillion teacups in Donna's current free series.  I knew if I chose one, it had to be a really colorful one.. 50 shades of white weren't going to cut it with me anymore.  So I did the poppies.  By the time I hit that third flower and final leaf, I was really ready to stop.  It isn't even that big, but it seemed like it took forever.  I must say, though,  I do love the results and I haven't tired of that part one bit!


And speaking of charity stitching, I'd like to say how happy I am about my contributions to the Alzheimer's Art Quilt Initiative (AAQI).  I have made nine mini-quilts over the last year.  Three sold fairly quickly.  The remaining quilts languished on the sale page forever.  I stopped making them since I didn't want to burden the organization with quilts they couldn't sell.  In October, the group took about 2100 quilts to the Houston quilt show and sold about 1600 of them between Wednesday and Sunday earning about $75,000 for the cause.  I'm proud to say that all six of my remaining quilts sold as part of that effort!   You can see all of my quilts and how much they earned here.  This is such a great grass roots organization.  All the income from selling these quilts goes to fund research.  And  this group finds the worthy research projects.  They don't just pass the money onto some large organization.   I'm inspired to make more now!


I also finally finished the Autumn By The Bay Mystery SAL, just a bit late.  At least it's still autumn!
I decided to make this into a little cross-body sling bag.   It turned out pretty well, so this one will be a holiday gift.  I make these a little different every time, never quite finding the perfect way to do it.  This one mostly follows the Lazy Girl Runaround Bag pattern.  I add some iron-on interfacing to all the pieces to give it a little more heft.  I also leave really long tails on the straps inside the bag,  Then I sew those down by hand over the side seam allowances.  So no raw edges show inside on the sides.. only on the top and bottom seams that aren't so visible anyway.  Plus the straps are much more secure.  I think I really like this technique the best.  I've done another method that has no exposed seams in the lining. but it doesn't leave me a way to do those straps like this, so I think I prefer this method.  I think it's pretty cute and eye-catching.  Quite a conversation starter in the grocery store lines!


Wednesday, December 15, 2010

Little Lulu Bag

I finally got around to finishing the Little Lulu cross stitch piece. I made another one of those simple zippered sling bags that I find so useful. Hope my friend will feel the same. I modify my method each time I make one, but I'm never 100% satisfied with the results. This has some extra batting. I thought my last one was a bit flimsy. The two tatted motifs were part of the gifts I received from Wendy. I've beeen keeping my eyes and mind open to ways to use them and I think they look nice this way. The fabric color is somewhere between what you see in the two photos.


My Jazzercise friend Maggie tucked a cute little package into my hand the other night just before class started. I didn't open it at the time and I've yet to thank her, but it turned out to be a sweet little holiday ornament. I don't think Maggie is a stitcher so I'll be interested in finding out where she picked this up.


The other fun thing that happened was I reached the 20 class attendance goal that meant I got to take home this cute Jazzercise patent leather zippered clutch. Of course, my incentive to attend classes in this cold weather is gone now. I'm hoping I can continue to rally!

Sunday, September 19, 2010

Thanks to Lazy Girl

I feared that the sampler I stitched was going to become one of those 'stitch and stow' items, the kind you put in the closet and never really turn into something useful. For inspiration, I ordered the Lazy Girl Runaround Bag pattern even though I've made a couple of different variations on this type of bag and really didn't need it. I was curious to see if there might be some helpful hints in a real pattern. Pink Chalk Fabrics turns out to be a good online store that I never knew about before. Fast service and decent pricing. Sure enough, the zipper insertion technique is so clever and easy. Didn't even need a zipper foot. It's one of those, "why didn't I think of that" ideas. I didn't follow the rest of the pattern exactly, but the pattern directions did provide a few other construction tips. I used fusible craft fleece to give it a bit of padding and cut it small enough so it isn't in the seam to reduce bulk. I could really have used a walking foot to make sewing through multiple layers a bit easier, but I hate to buy one for my machine since it's so old and the only one available was made my a third-party, not the original manufacturer. But they aren't very expensive, so I may decide to try one anyway for next time.

I finally decided to go with the darker fabby on the outside and the lighter one as the lining for the stitching side. And then since it looked a little bare, I added two little butterfly beads from my stash that had been quietly waiting for the right moment to make an appearance. The photo of the back makes the print look blurry, but it's fine IRL.


Wednesday, March 10, 2010

The Stitcher II

Becky let me know that my gift for her arrived (and quickly too -- big thanks to the Post Office). I made Becky a zippered bag to use when you only want to carry a few things and want your hands to be free. I like to make a nice long strap so you can wear it diagonally across your body. I also like to place the zipper in the back so it lies against your body. Just seems safer that way. I found a new tutorial for these that leaves no exposed seams on the inside. The link is in my sidebar if you are interested. I'd been trying to invent a way to do that for a while and just never could figure it out. Topologically speaking (that's math talk from a math major) there had to be a way, but that didn't mean I could find it alone.

The design is a part of "The Stitcher II" by Homespun Elegance. I added the border around the top and sides from a piece of the Hands to Work sampler in the Feb 2009 issue of JCS. The crocheted edging is from a book of edgings I have and this one is especially nice to do because you don't have to stitch a foundation chain first.. you just keep adding the pattern repeat til it's long enough.

I also used fusible fleece to give it some body. The fabric is Light Coffee 32-ct linen from Vikki Clayton. The lining is the same fabric as the backing.